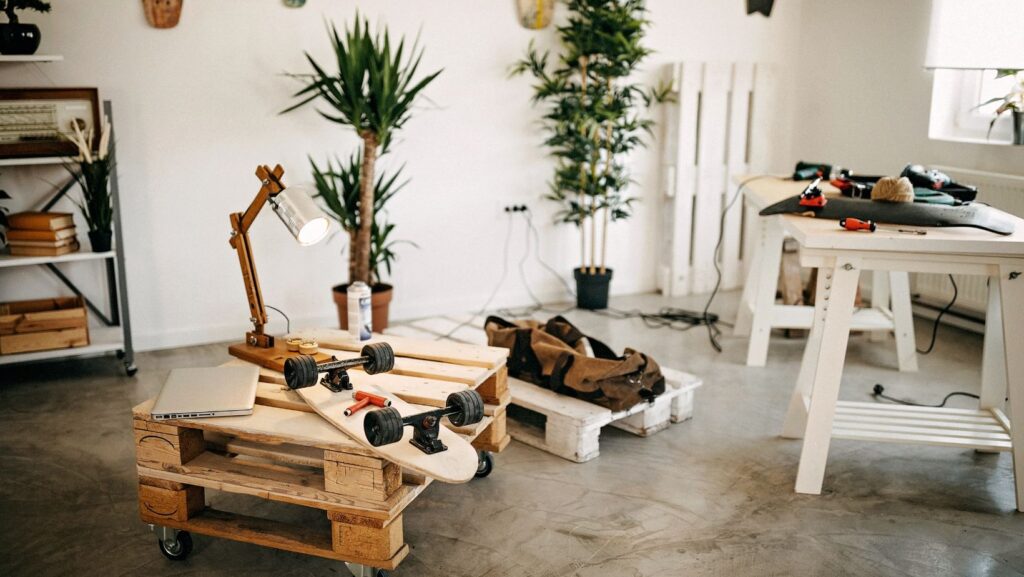
Imagine transforming a simple wooden pallet into a one-of-a-kind piece of furniture or decor. That’s the beauty and thrill of pallet DIY projects. They’re about upcycling what’s often overlooked into something truly unique and functional.
Whether you’re a seasoned DIY enthusiast or a crafty beginner, pallet projects offer a world of possibilities. From rustic coffee tables to quirky garden planters, there’s a project for every skill level and style preference.
Pallet Projects DIY
Pioneering the realm of sustainable craftsmanship, DIY pallet projects offer a concession between the environment and our desire for unique and functional pieces.
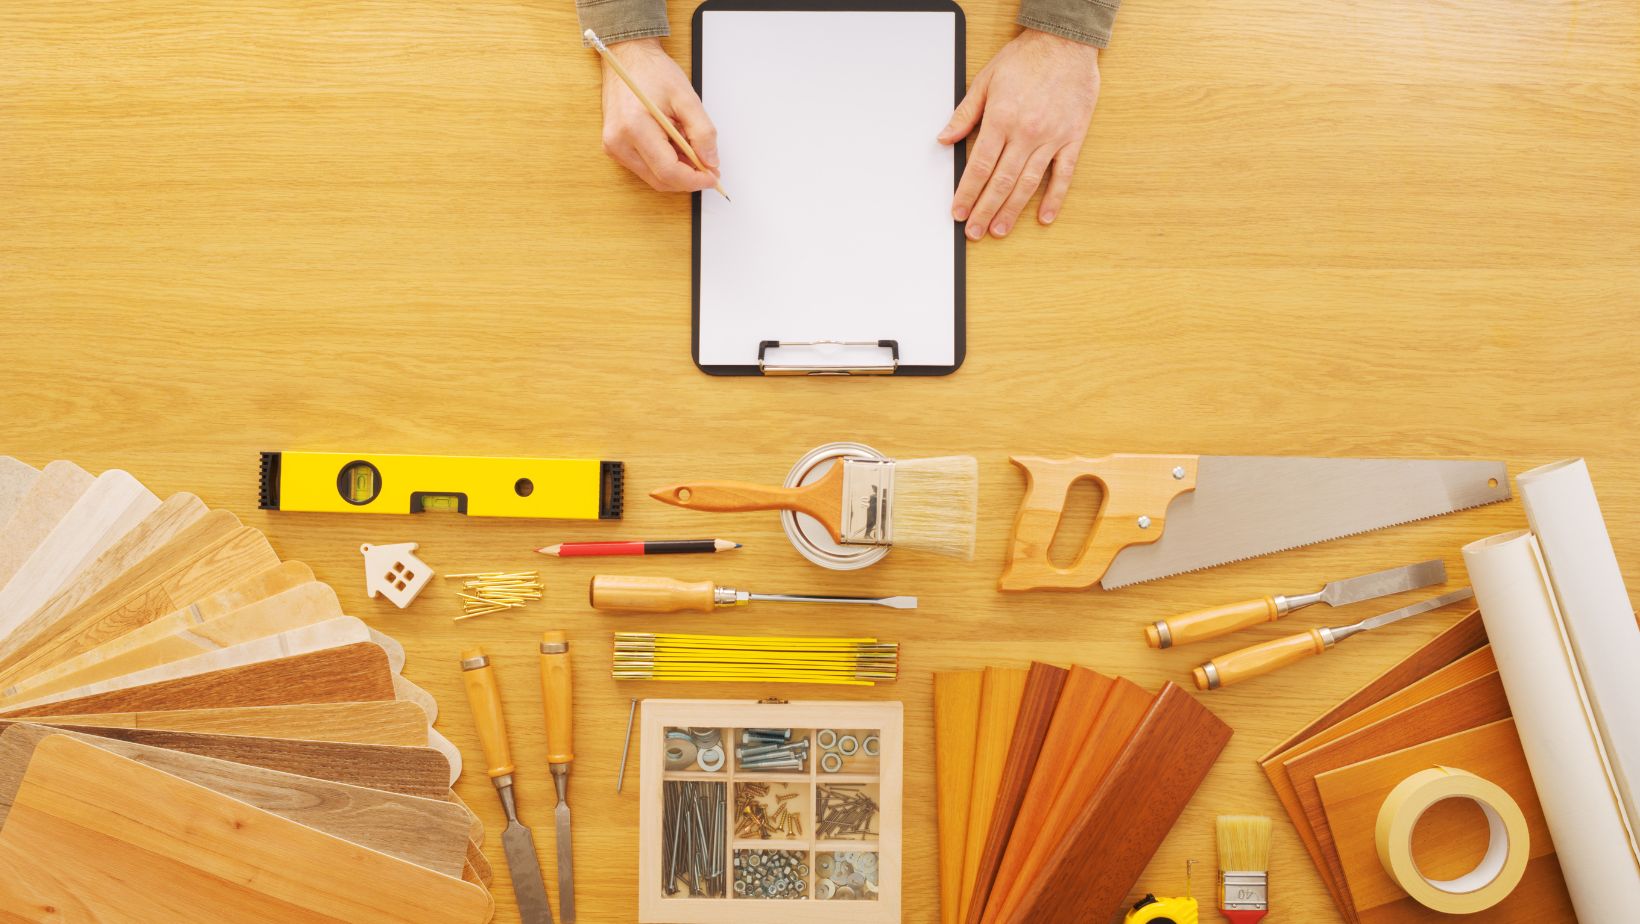
Essential Tools for Pallet DIY Projects
In the realm of pallet projects DIY, understanding and procuring the right tools are keys to success. This section accentuates the essential hand and power tools required for such projects.
Basic Hand Tools
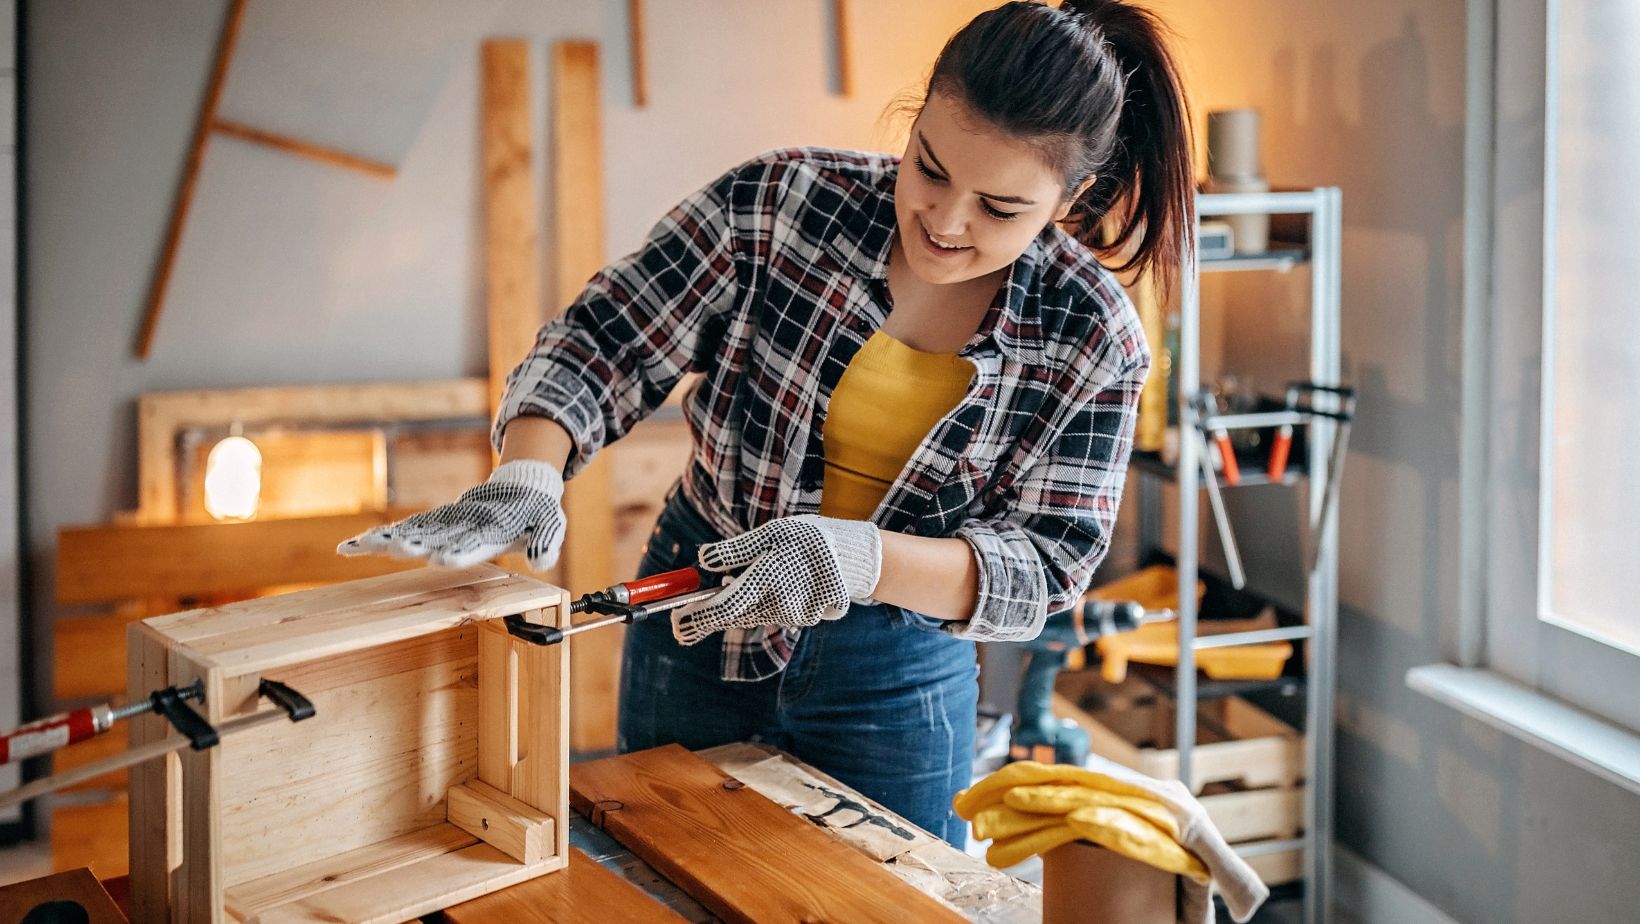
 The importance of basic hand tools in creating pallet projects can’t be overstated. These include but aren’t limited to, a claw hammer, for dismantling pallets and pulling out nails, and a set of screwdrivers with various head types, handy for minor or detailed adjustments.
An array of wrenches, specially, open-end and socket style, play a significant role in tightening or loosening bolts as required. A tape measure proves crucial for accurate measurements, helping create structured, symmetrical projects.
Having a quality chisel set facilitates the carving out of specific designs or shapes while a sturdy handsaw allows for cutting through pallet wood with ease. Pliers, specifically long-nose and combination types, aid in bending, twisting, or cutting wire. Don’t overlook the importance of a sturdy workbench for holding materials steady while working.
Power Tools
Power tools provide speed and efficiency in pallet projects DIY. To begin with the non-negotiables, a circular saw or a reciprocating saw simplify the task of cutting through wood, saving time and energy. For sanding and smoothening rough surfaces, a powered sander becomes quintessential, providing a neat and polished look to projects.
A power drill, with a variety of drill and screw-driving bits, offers versatility, allowing one to drill holes or drive screws easily. A nail gun expedites the process of joining parts together, proving highly efficient compared to a traditional hammer.
Moreover, a jigsaw proves helpful for intricate cutting tasks, letting you maneuver and cut curves with precision. To round up, remember to include safety equipment like ear protection and safety glasses to protect against debris and noise associated with power tools.
Preparing Pallets for Your DIY Projects
Setting up pallets forms a crucial step in the process of creating pallet projects DIY. Improper preparation can compromise the structural integrity of the finished product, thus negating the effort put into crafting it. Therefore, a methodical approach to this task becomes imperative.
First, inspecting the pallets ranks as the initial task. Look for any signs of wear and tear such as split wood, protruding nails, or any signs of pests. Use caution in handling pallets; tetanus shots may be advisable prior to handling worn pallets.
Next, the cleaning phase ensues. Clean the pallets with a solution of warm water and mild detergent, scrubbing them with a hard-bristle brush. Rinse thoroughly and air-dry them properly.
Then comes the dismantling process, if required. Some projects demand deconstructed pallets, while others necessitate them as a whole. To dismantle a pallet, use a pry bar or a pallet buster. It’s important to prevent damage to the wood during this process. A reciprocating saw can help cut through nails if they prove too stubborn to pry loose.
Furthermore, sanding the pallets helps to smooth out any rough edges and to prepare the wood for staining or painting. Use a power sander or hand sandpaper, depending on the project’s details.
Lastly, treat the pallets with a coat of paint or seal to protect from weather damage and to bring out the wood’s natural beauty. Applying a sealer helps maintain the pallet’s aesthetically pleasing attributes while also improving durability.
By following these steps, robust, ready-to-use pallets for DIY projects can be procured. Hence, proper preparation enables individuals to optimize their pallet projects DIY, ensuring high-quality, appealing, and durable end products.